For businesses which has branches/warehouses/franchisees at multiple locations, it is essential to track the transactions taking place in each branch/franchisee to evaluate the financial performance of each of it and the overall company.
Output Books makes your multiple branched business simpler. It allows you to have a centralized access of all your outlet’s accounting, expenses and everything under main branch.
Let’s see how to create & setup branches/warehouses/franchisees in Output Books.
Page Contents
- Enable Branches/Warehouses/Franchisees
- Create Branches/Warehouses/Franchisees
- Configure Transaction Serial number for Branches/Warehouses/Franchisees
- Assigning Users to Branches/Warehouses/Franchisees
- How to create & track transactions for each Branch/Warehouse/Franchisee?
- Stock Transfer between branches and warehouses
- Branch/Warehouse/Franchisee wise Dashboard & Reports
Enable Branches/Warehouses/Franchisees
Before we start creating branches, it is mandatory to enable the Branches/Warehouse module.
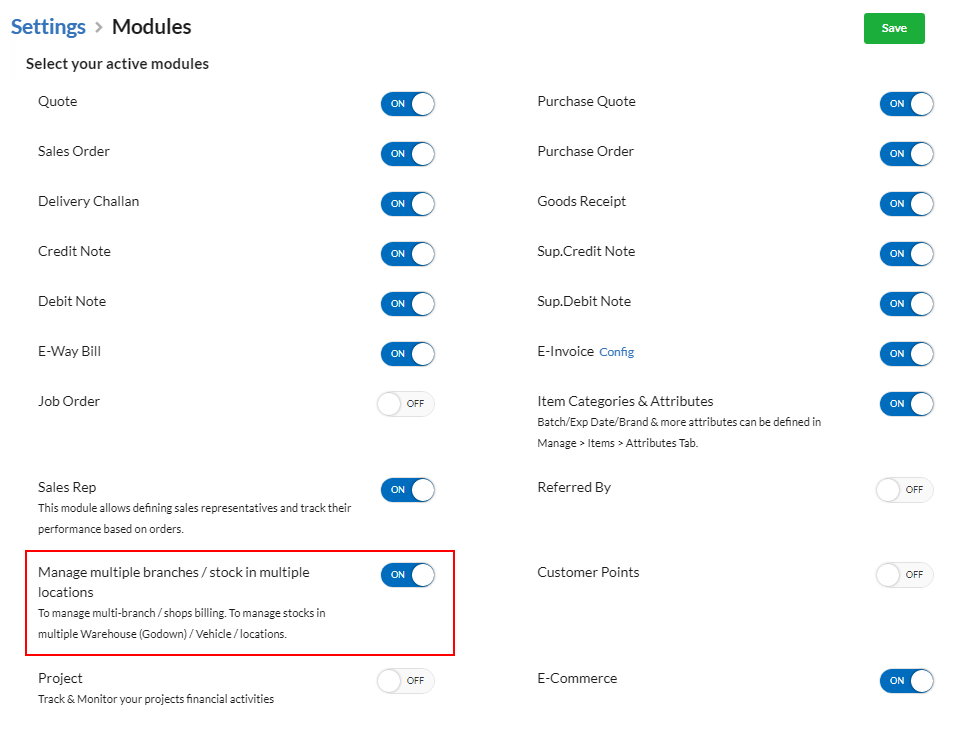
- Go to Settings > Modules.
- Toggle-On the Manage multiple branches / stock in multiple locations option and hit Save.
Create Branches/Warehouses/Franchisees
After enabling the Branch module, you can start creating branches/warehouses/franchisee.
Adding Branch
- Go to Settings > Branches/Warehouses option.
- Click on the Add Branch button at the top-right corner and you will find a pop-up appearing.
- Enter the Branch Name, Contact Name.
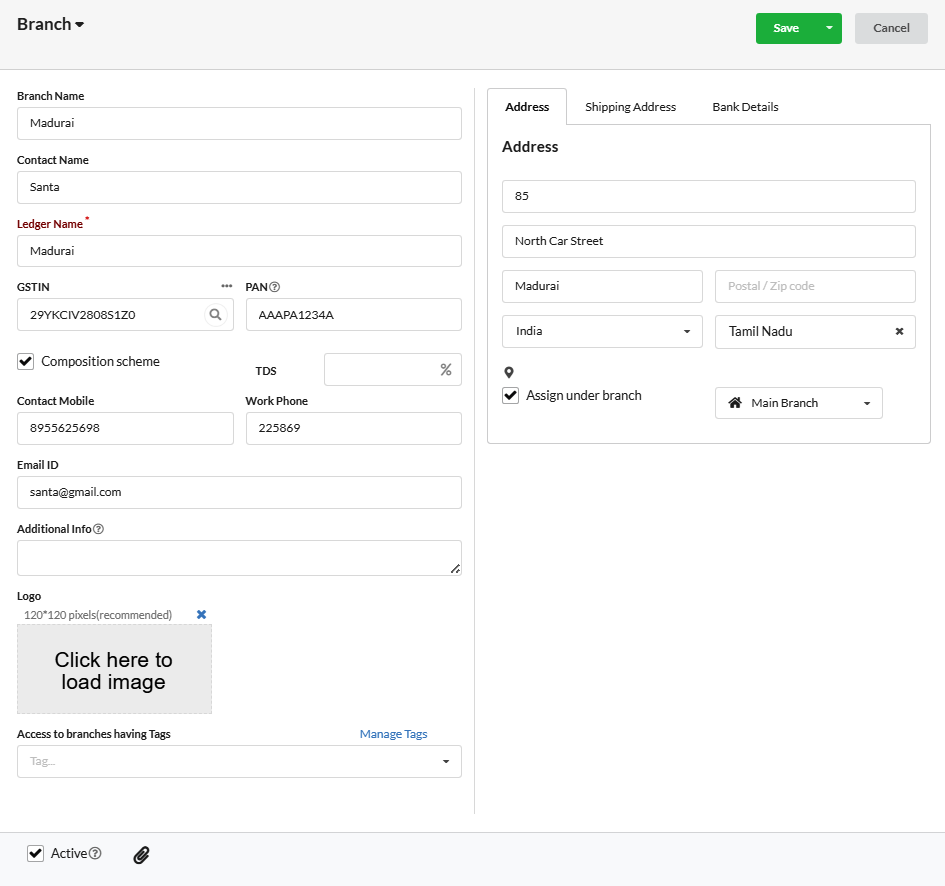
- Provide the GSTIN and PAN of the respective branch.
- Enter the address, email, contact, set logo(if needed)& click Save.
Adding Warehouse
- Under Settings > Branches/Warehouses option, switch to Warehouses tab.
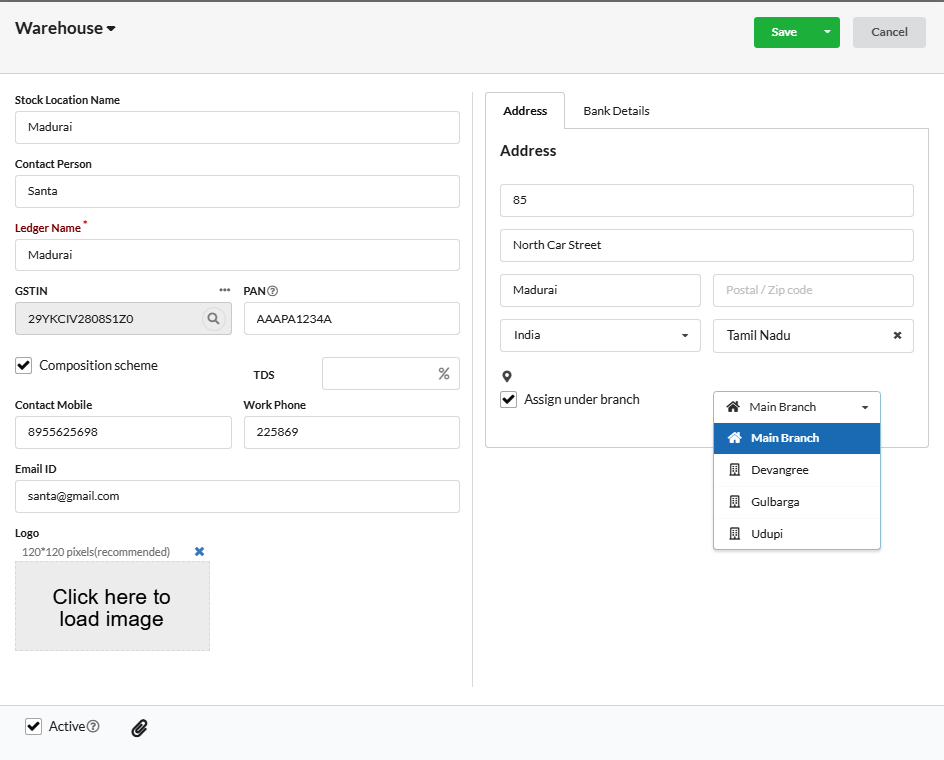
- Click on the Add Warehouse button and fill the details in the pop-up that appears.
- Enable the Assign under branch checkbox in the pop-up and choose the branch under which you want to assign the respective warehouse(if needed).
Adding Franchisee
- Under Settings > Branches/Warehouses option, switch to Franchisee tab.
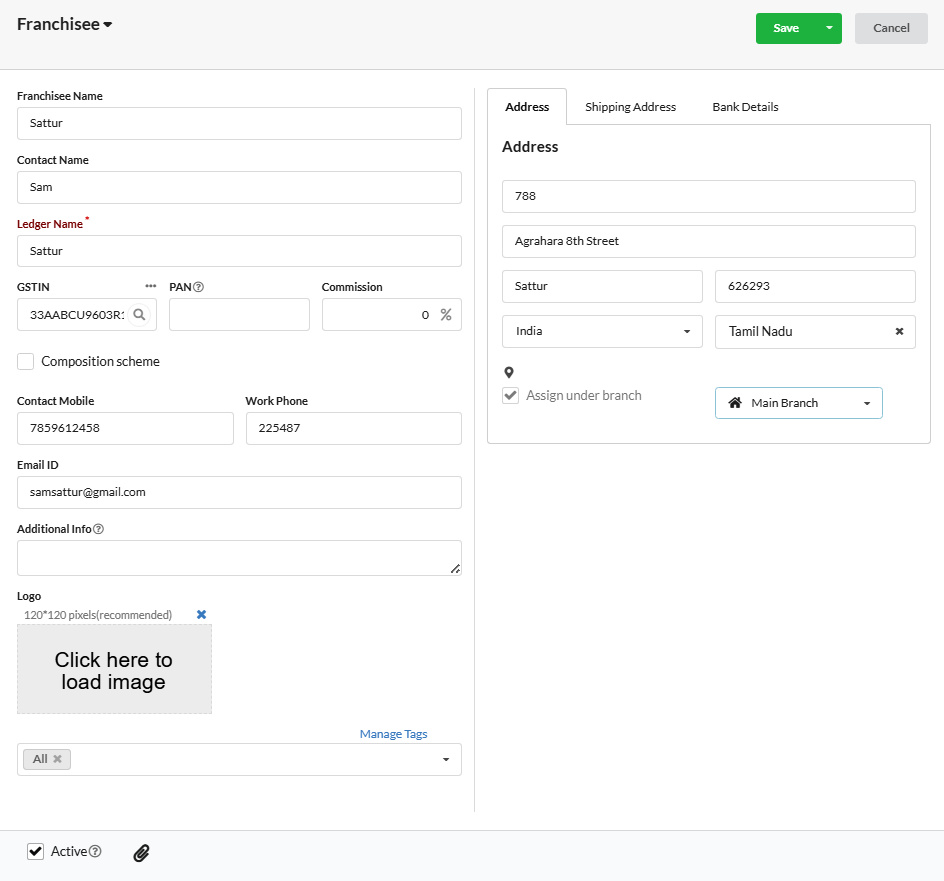
- Enter the percentage share for your franchisee in the box at the top-right corner.
- Click on the Add Franchisee button and fill all the details including your Franchisee GSTIN in the pop-up that appears.

You can create multiple branches/warehouses/franchisees and track each of them easily from main branch login.
Configure Transaction Serial number for Branches/Warehouses/Franchisees
To differentiate transactions of each branch/warehouse/franchisee, you can either set up unique serial number for each location / follow the main branch’s serial number.
To setup serial number for multiple locations:
- Go to Settings > Serial Numbers option.
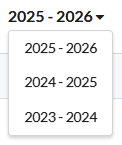
- First, choose the financial year for which you are opt to set the serial number.
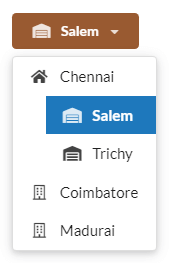
- Then, select the branch/warehouse/franchisee from the drop-down present there.
You can directly switch between branches/warehouses/franchisees using the drop-down present there and set the serial number for each of them.
- Decide whether you want to use Main branch’s serial number or create a separate serial number for the chosen location and enable the respective option.

If you have enabled the Use [Main] Serial number for this branch option, serial number configured for Main branch will get applied for selected branch also. Before that, ensure that you have set serial number for Main branch modules.
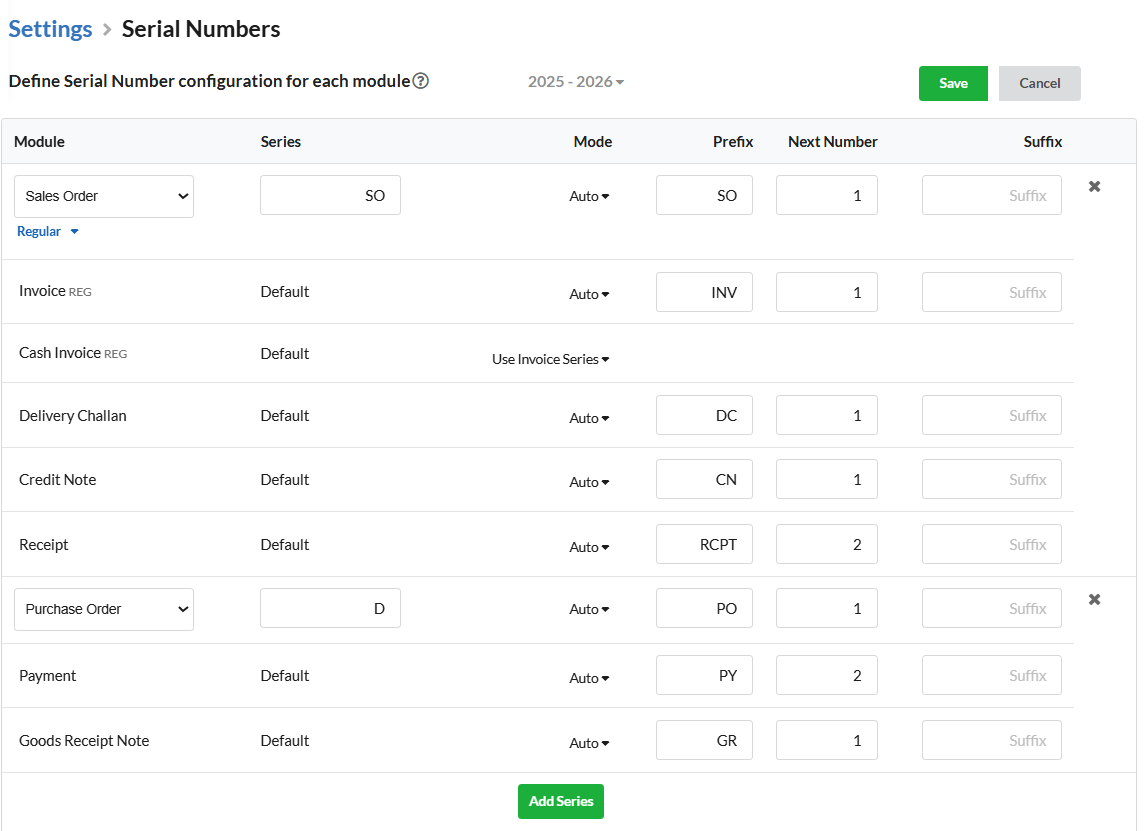
If you have enabled the Use separate series for this branch option, to proceed further, click on the Click to configure serial number

- Enter the serial number for all transactions along with prefix and suffix.
- Please make sure that you enter unique prefix and suffix for each branch/warehouse/franchisee to avoid conflicts.
Assigning Users to Branches/Warehouses/Franchisees
You can create and assign users to multiple branches/warehouses/franchisees. Here are the steps for that:
- Under Settings > Users, click on the Add User button or click on the Edit button associated with existing user.
- Assign branches/warehouses to the selected user using the Location option.
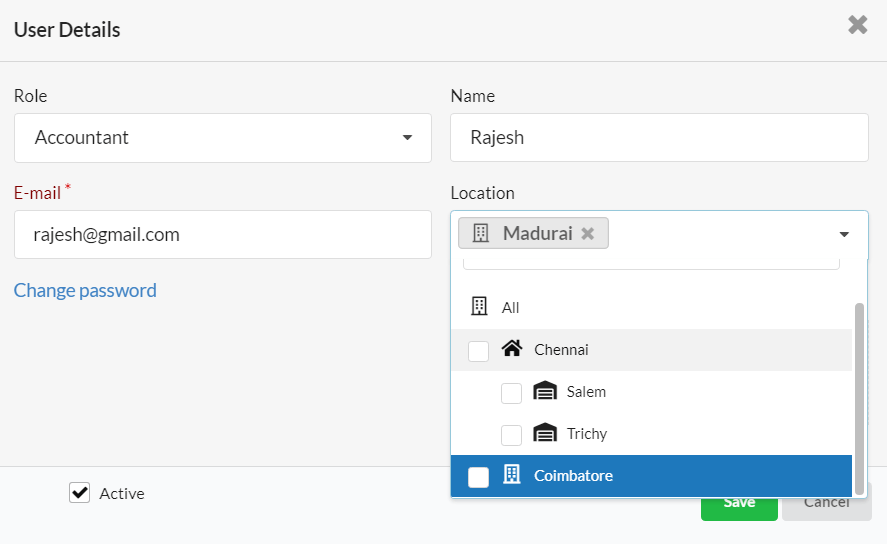
You can assign multiple locations to a user. Based on the user role and permission, users can access the data in each branch/warehouse/franchisee.
How to create & track transactions for each Branch/Warehouse/Franchisee?
Administrator having access to all locations can access the data in each location centrally from one login. Staffs at specific locations can perform financial operations based on their roles and permission.
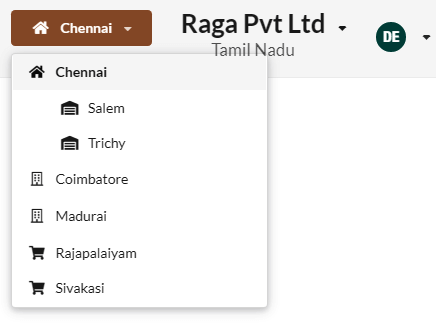
To create transactions for each location, switch to the specific branch/warehouse/franchisee using the drop-down present near the company name at the top-right and start creating.
Note:
- Once you switch to a location(branch/warehouse/franchisee), all the transactions you create or whatever you do there will be associated to chosen location only.
- You will be displayed with the branch/warehouse/franchisee name in each transaction at the top left of the transaction window.
- Except the Settings module, all other modules such as Sales, Purchase, Bank/Cash Accounting,Reports will be unique for all locations.
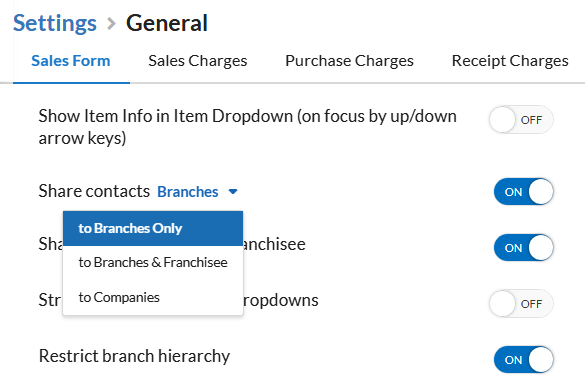
- “The Contacts (Customers/Suppliers) module can be shared across branches by enabling the ‘Share Contacts‘ option. Go to Settings > General, find the ‘Share Contacts‘ setting, and select ‘Branches’ from the dropdown.”.

Stock Transfer between branches and warehouses
You can easily record the transferring of stock between branches/warehouses/franchisees. Outward and Inward Stock transfer can be recorded by creating Delivery Challan & Goods Receipt. Know more about Stock Transfer here.
Branch/Warehouse/Franchisee wise Dashboard & Reports
Dashboard access
Admin User or Users having permission to access all branch/franchisee’s data will be able to get an overview of each branch/franchisee’s performance as well as the all location’s consolidated performance right from the Dashboard. Directly you can switch to each location’s dashboard with drop-down present in the Dashboard window.
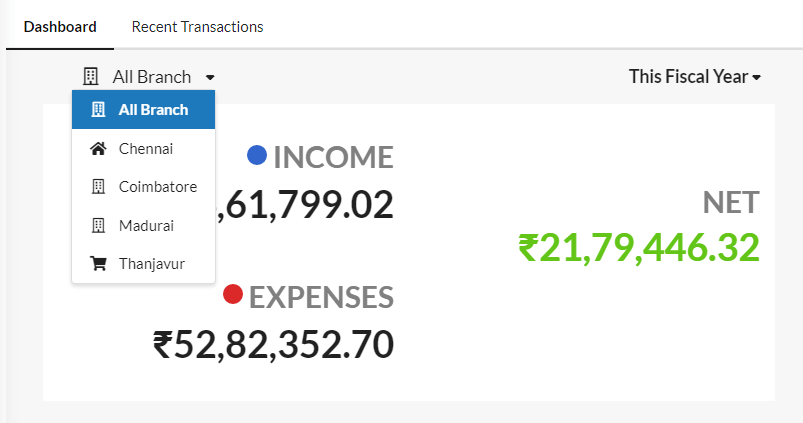
Dashboard will list you the overall income, expense, profit, sales chart, cash flow, aging, top customers, top items and pie chart of income, expenses and post dated cheques.
Note: There is no Dashboard for Warehouse.
Reports
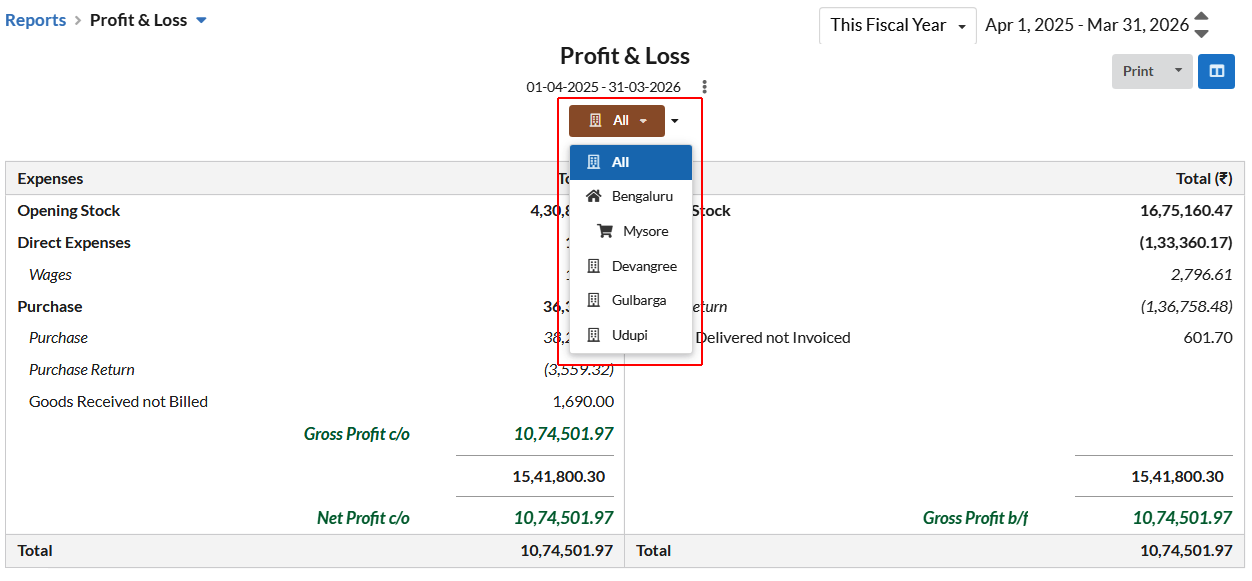
Admin Users or Users having permission to access all location’s report can view each branch’s report directly from the Reports window of any branch without completely switching over to each branch completely.
Each of the report will contain the drop-down to easily switch between report window of various branches. Consolidated reports of all branches can be viewed by choosing All parameter in the same drop-down.
GSTIN Reports can be viewed for each branch separately only by completely switching over to that branch and accessing the Reports window.
Note: For Franchisee, only the Item and Stock reports will be available and can be accessed. There is no Report for Warehouse.