Page Contents
Quick Invoice
The Quick invoice provides efficient data entry for large volumes of similar invoices. It enables you to enter minimal invoice information such as the Item, quantity and rate.
Creating Quick Invoice
You can create a Quick Invoice by simply clicking ![]() on the New Invoice window(Sales > Invoice > New Invoice).
on the New Invoice window(Sales > Invoice > New Invoice).
Quick Invoice comes with two templates.
- For Credit
- For Cash
For Credit
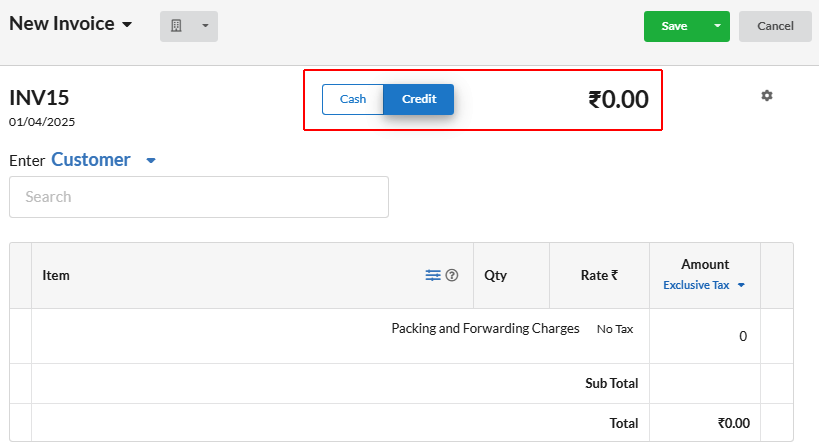
To create a quick invoice for credit, you can click Credit at the top right of the Quick Invoice window.
Here you can consecutively select the Customer, the Item, then the quantity and the Rate in the same place by simply clicking the enter button.
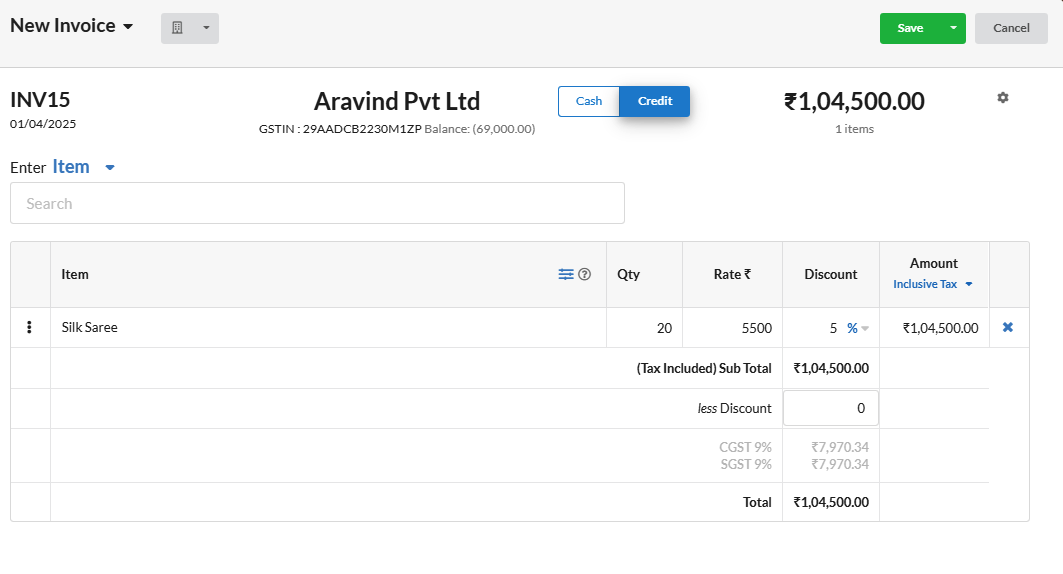 Customer name and their GST number are displayed at the top, after the customer is selected. Also, the invoice amount and the number of items are displayed under the toggle menu.
While making an entry, the previously entered values are shown above the text box. You can make the change by simply clicking the close button. In the listing also you can delete any entry by clicking its respective close button at the last column
For Cash
You can toggle the Credit to Cash, for creating retail invoices in quick invoice.
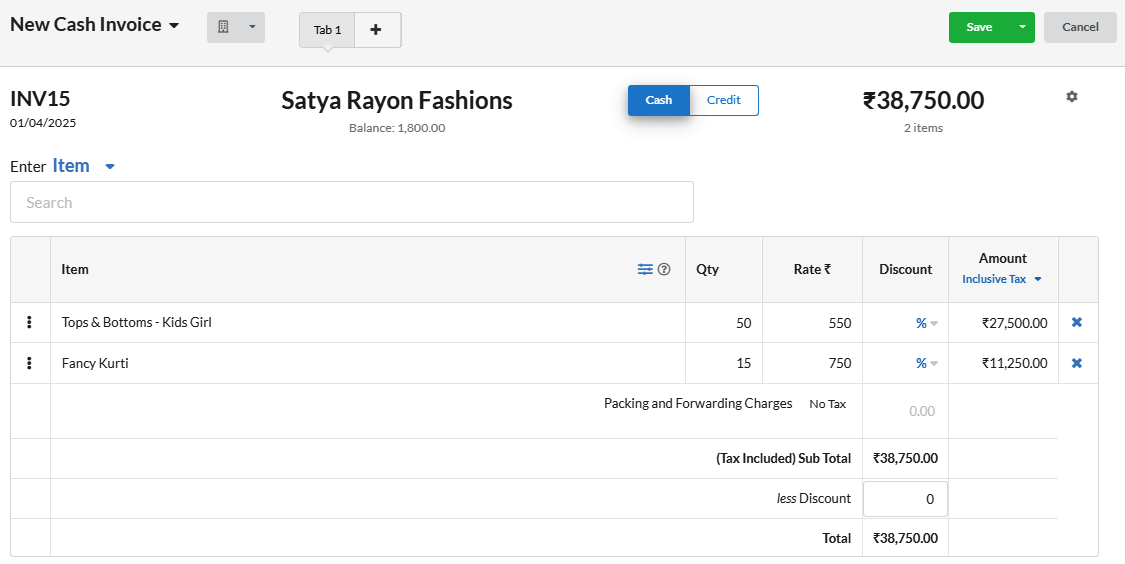 Here you can make the entries in the same way as in the credit invoices. Here, customer name will not be listed by default.
Other attributes
These attributes speed up the data entering process, from which you can make a very quick invoice.
- Skip Rate if defined in Item
- Skip Quantity with value as 1
- Skip / Hide Discount if defined in Item
- Discount Overall
Skip Rate if defined in Item | Rate gets automatically recorded from the Item master when the Item name is chosen. So that you can skip rate while entering Item details. |
Skip Quantity with value as 1 | Sets the Quantity as 1 for all items. So that you can skip quantity from typing. |
Skip / Hide Discount if defined in Item | If a discount is defined at the item level, Skip / Hide Discount in invoice entry. |
Discount Overall | A discount applied to the total order value, regardless of individual item-level discounts. |
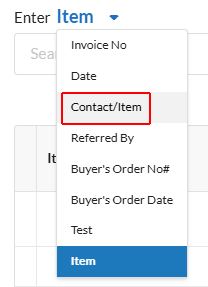
How to include customer in retail invoice?
You can select customer for the retail invoice by clicking the drop-down near the Item. Choose Customer and select any customer from the list.
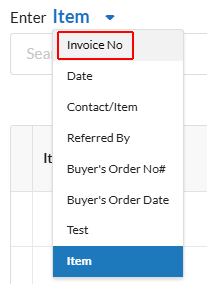
How to change Invoice number or the Invoice date?
You can change the invoice number and the date by selecting the respective field from the drop-down near Item. Choose Invoice no and provide the number in the text box. If you want to change the date, choose Date from the drop-down.

