Page Contents
WhatsApp Integration
In today’s digital age, seamless communication is paramount for businesses to thrive. Integrating personal WhatsApp accounts with Output Books presents an efficient solution for enhancing customer engagement and streamlining transactional processes. This guide will walk you through the simple steps required to link your personal WhatsApp account with Output Books.
Steps to link WhatsApp Account with Output Books
1. Install Node.js and Set Up OutputBooksNotifier
Follow these steps carefully.
Step 1: Download and Install Node.js
- Download the Node.js Installer
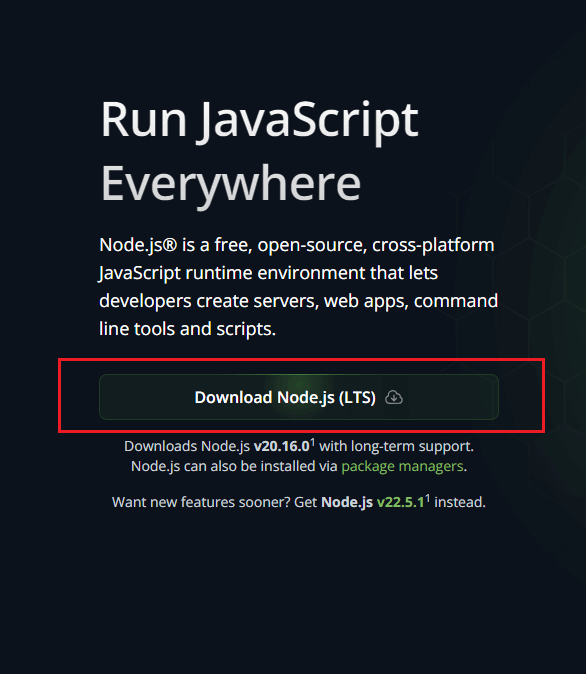
- Visit the Node.js download page
- Click on the LTS version to download the installer for your operating system.
- Install Node.js
- Once the download is complete, open the installer.
- Follow the on-screen instructions to complete the installation.
- Ensure you select the option to add Node.js to your PATH.
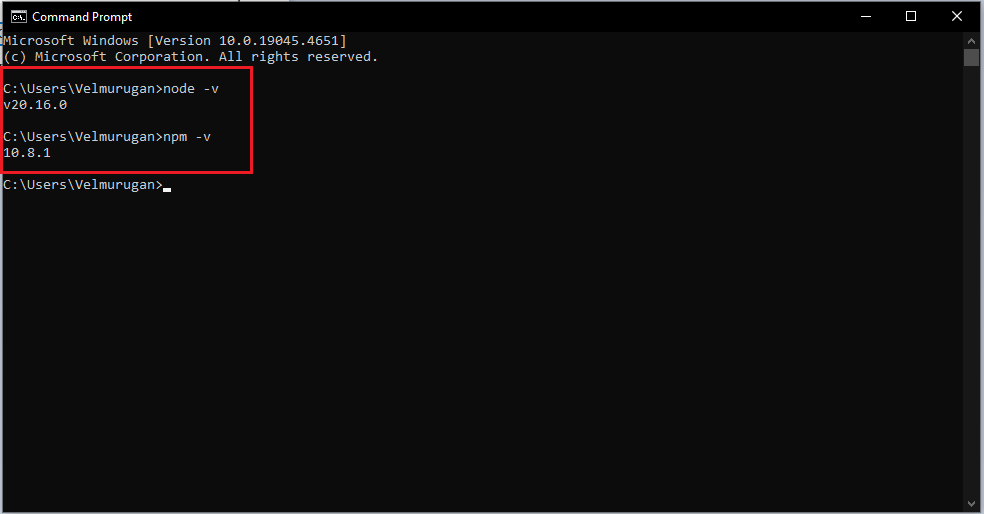
- Verify Installation
Step 2: Download and Extract OutputBooksNotifier
- Download OutputBooksNotifier
- Open your web browser and go to OutputBooksNotifier.zip.
- Save the zip file to your preferred location (e.g., “E:\” or any other drive except “C:”).
- Extract the Zip File
- Right-click on the downloaded OutputBooksNotifier.zip file.
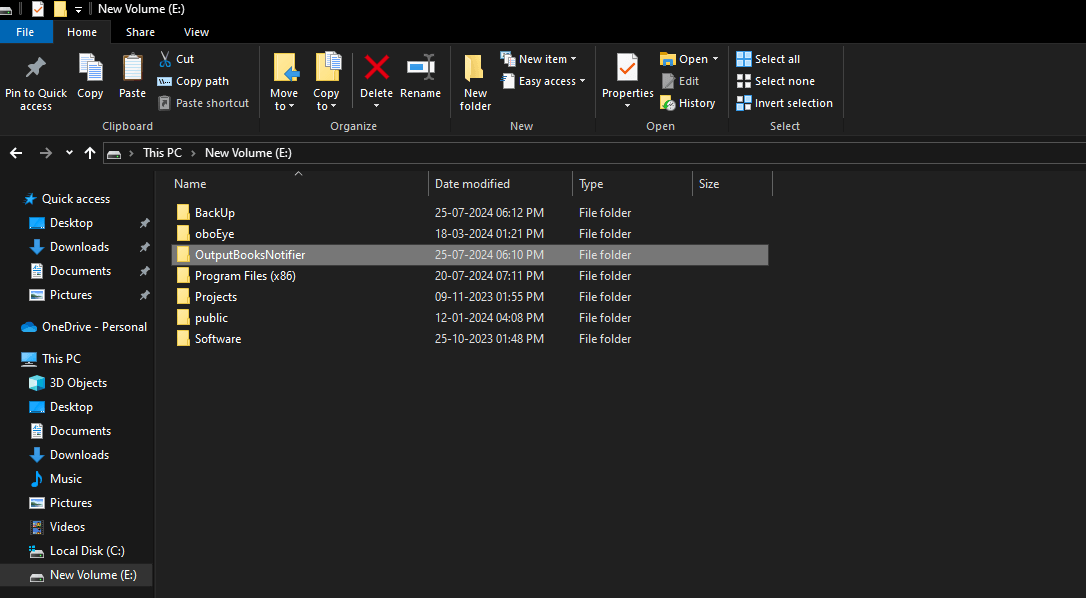
- Select Extract All and choose a destination folder outside of the “C:” drive (e.g., `E:\OutputBooksNotifier`).
- Click Extract to complete the process.
Step 3: Install and Run OutputBooksNotifier
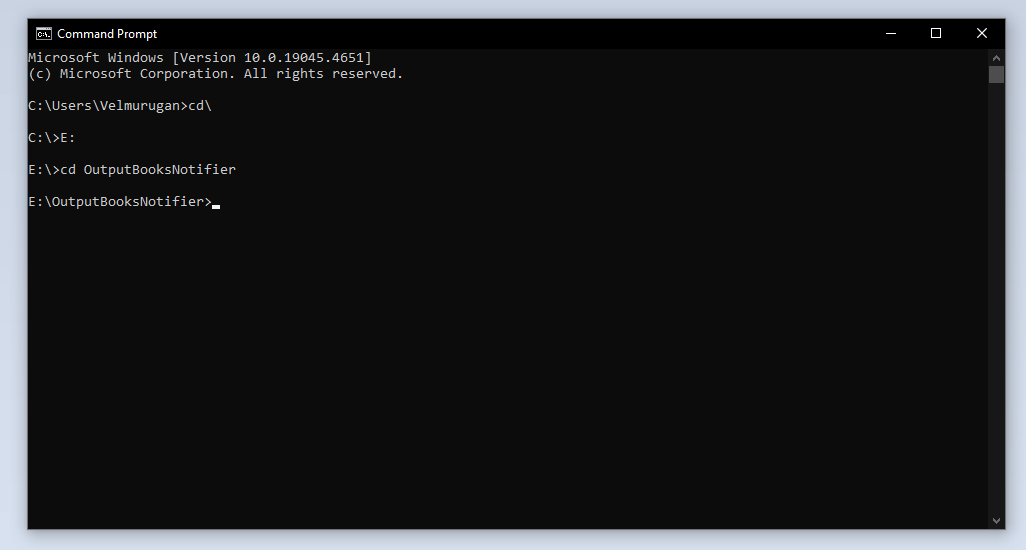
- Open Command Prompt as Administrator
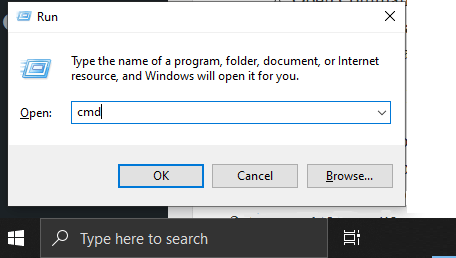
- Press Win + R, type cmd.
- Right-click on “Command Prompt” and select “Run as administrator”.
- Navigate to the OutputBooksNotifier Directory
- In the Command Prompt, type the following command and press Enter
cd E:\OutputBooksNotifier
- Replace `E:\OutputBooksNotifier` with the actual path where you extracted the files
- In the Command Prompt, type the following command and press Enter
- Install Dependencies
- Run the following command to install the required packages:
npm install
- Run the following command to install the required packages:
- Install Node-Windows
- Run the following command to install `node-windows`
npm install node-windows
- Run the following command to install `node-windows`
- Run the Installation Script
- Execute the following command to run the installation script
node install.js
- Execute the following command to run the installation script
Step 4: Access OutputBooksNotifier
- Open Browser and Access the URL
- Open your preferred web browser.
- Enter the following URL in the address bar and press Enter
https://localhost:8226
- Proceed Past the SSL Error
- You will see an SSL error due to a self-signed certificate.
- Click on Proceed to continue to the page.
- Open Browser and Access the URL
That’s it! You have successfully installed Node.js, set up OutputBooksNotifier, and accessed it in your browser.
2. Access Settings
Once the tool is installed, open Output Books.
- Go to Settings > Company Settings.
- Find Whatsapp settings at the bottom
- Enable the In-Built option to activate WhatsApp integration within Output Books.
3. Connect your WhatsApp Account
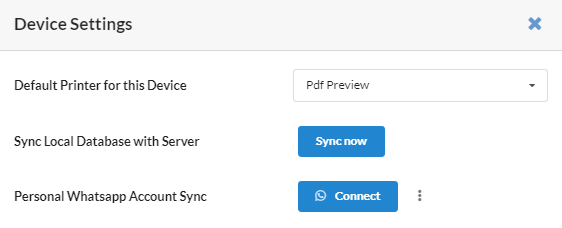
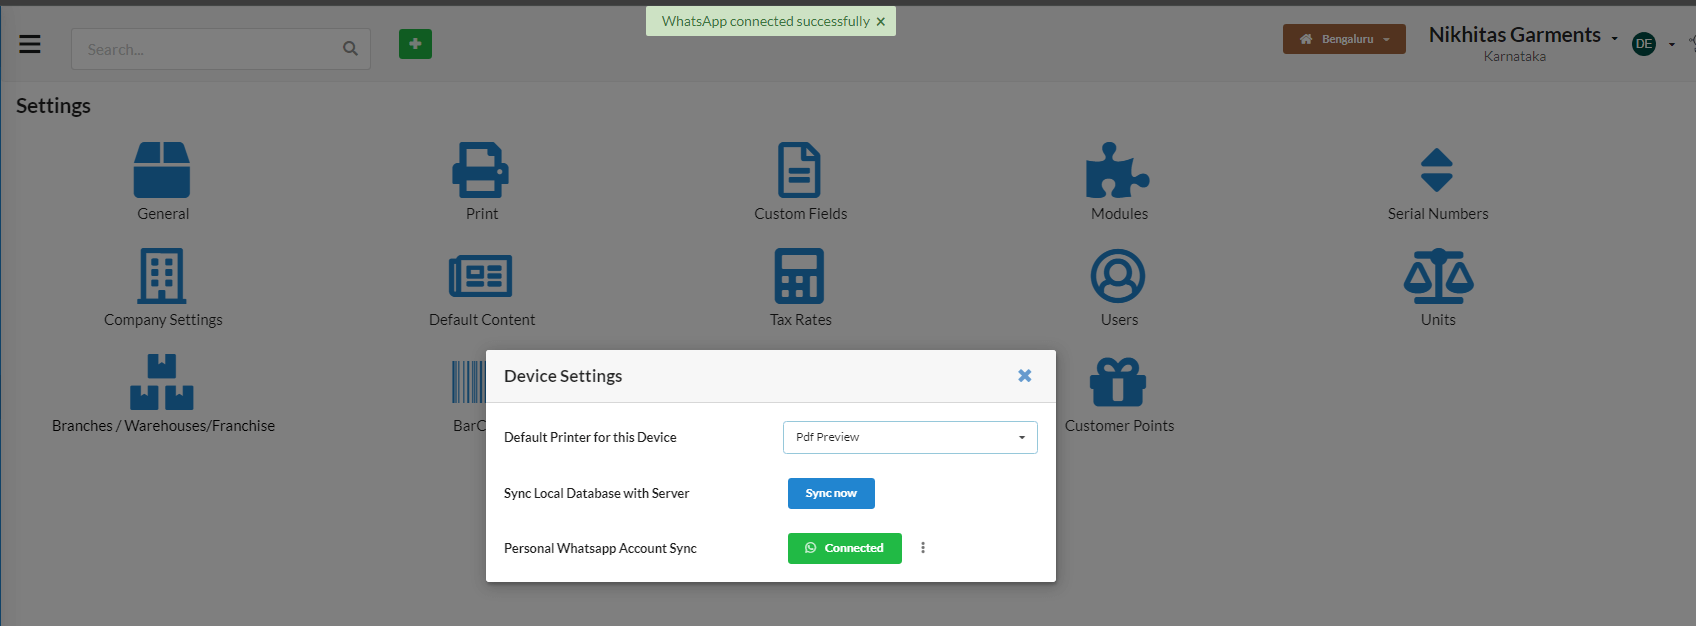
- Click on the Current Device Settings option in the top menu.
- In the pop-up window, establish a connection with your personal WhatsApp account by clicking on the Connect button.

- This step is crucial for linking your WhatsApp account to the Output Books application. Upon clicking “Connect,” ensure that the button changed to “Connected“.
- If Connect not works, follow these steps
4. Scan QR Code
- After connecting your personal WhatsApp account, you’ll be prompted to scan a QR code.
- Open WhatsApp on your mobile device.
- Navigate to Settings > WhatsApp Web.
- Scan the QR code displayed on your Output Books application to link the device.
5. Confirmation
Once scanned successfully, you will receive a confirmation message in Output Books indicating that your WhatsApp account is now connected successfully.
5. Setup Message Template
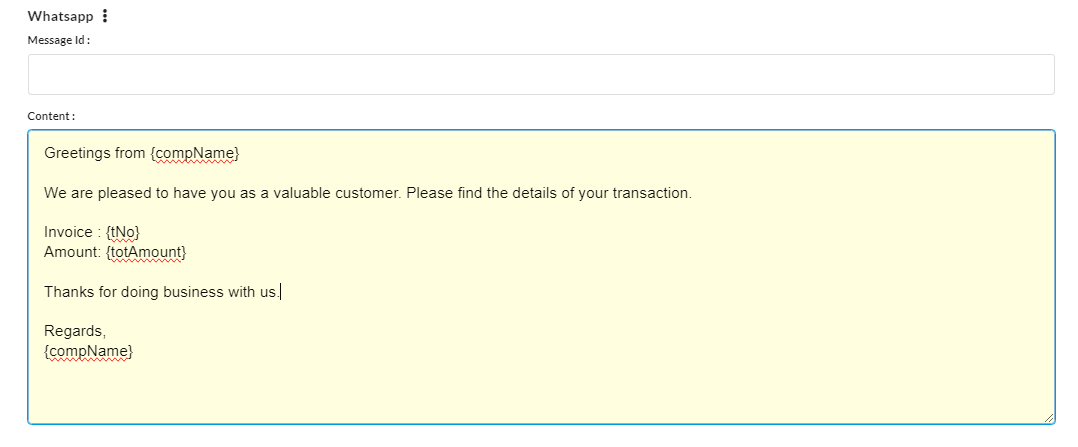
To customize the content and format of your WhatsApp messages, define message templates in Output Books.
- Go to Settings > Default Content in Output Books.
- Click Invoice
- Customize WhatsApp message content.
- Save changes.
6. Send WhatsApp
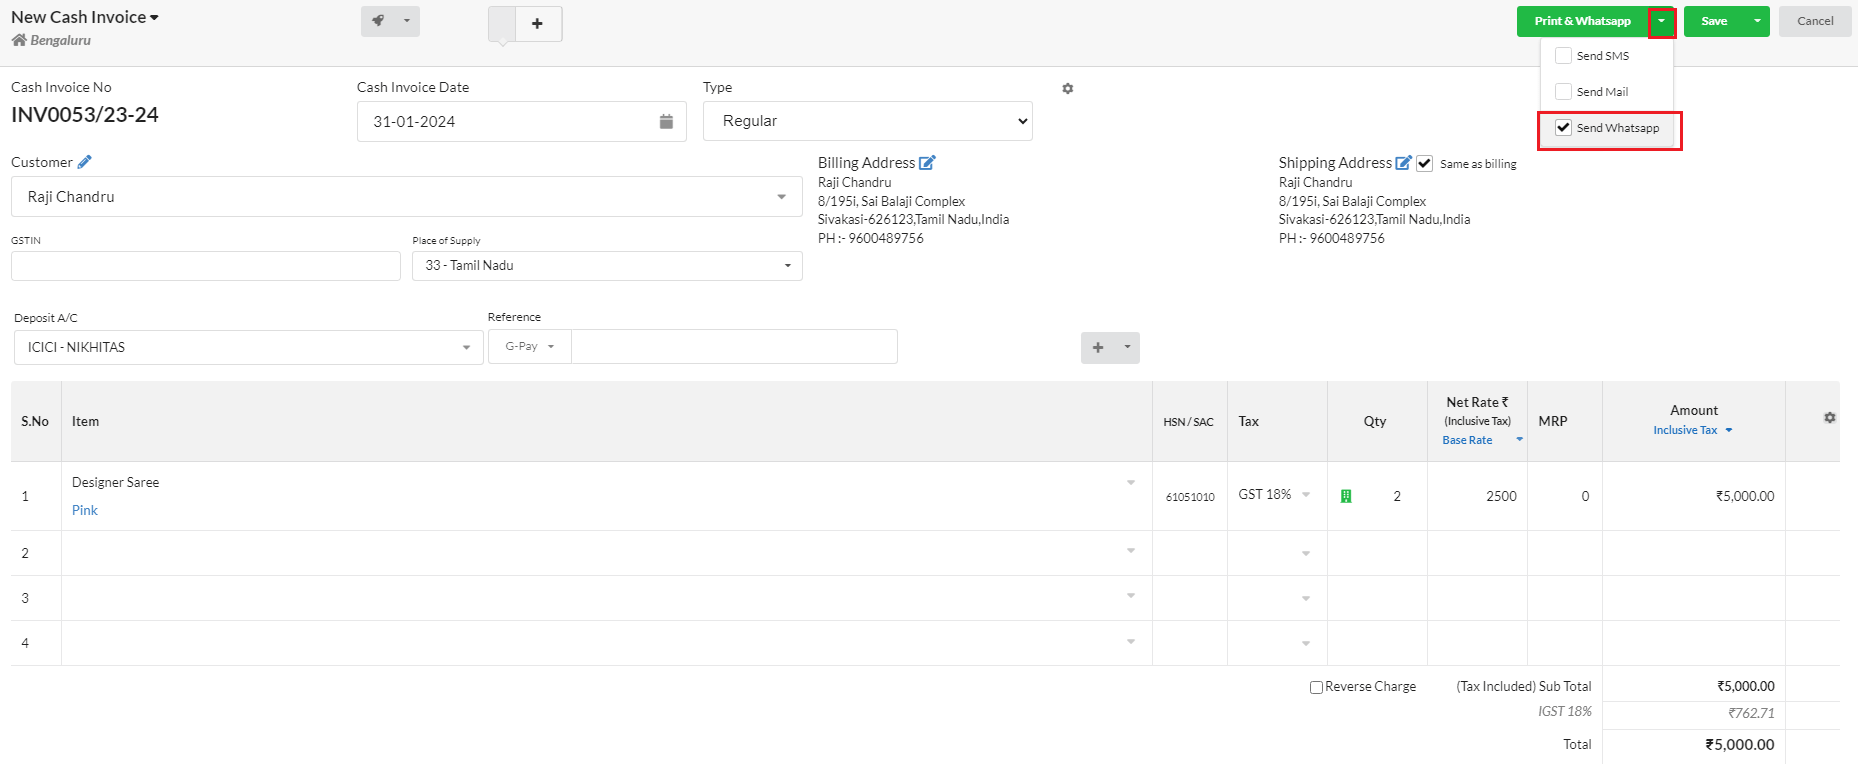
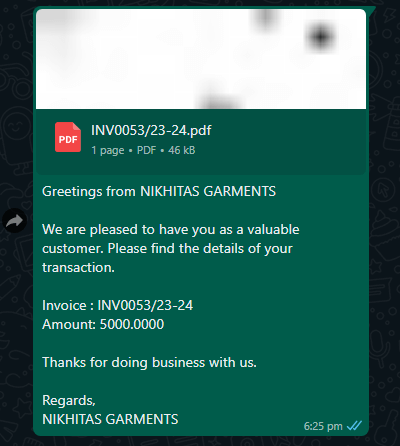
- Use the “Send WhatsApp” feature during transaction creation.
- Employ this functionality for seamless communication.
- Send transaction-related messages directly through WhatsApp.
Note: Make sure that the recipient’s phone number is linked to a WhatsApp account and that they have opted in to receive messages.
Troubleshooting
What to do if Connect doesn’t Work?
- Ensure the OutputBooks Notifier is installed and running.
- Click the kebab icon (three vertical dots) located near the connect button.
Cloud User & Hosting Domain with SSL Certificate
- Ensure the URL is set to wss://localhost:8226/.
- Then open a new tab and navigate to “https://localhost:8226/“. Click on Advanced and then click localhost (unsafe).
- Now try to Connect again
Offline User & Hosting Domain without SLL Certificate
- Ensure the URL should be ws://localhost:8225/.
- Now try to connect again.
Conclusion
Congratulations! You have successfully integrated WhatsApp into your Output Books system. This will enhance your communication capabilities by allowing you to send transaction-related messages seamlessly through the WhatsApp platform.
