Before start installation, make sure the following requirements are available.
Page Contents
System Requirements
Hardware
Processor Generation : 6th generation or newer
Cores : Minimum 4 cores
HDD : 20 GB free space
RAM : 6 GB or greater
SSD : 256GB
Network : Internet connection required
Full administrator Access
Apache >= 2.4.7
PHP >= 5.5.1
MySQL >= 5.6.12
Setup Output Books Account
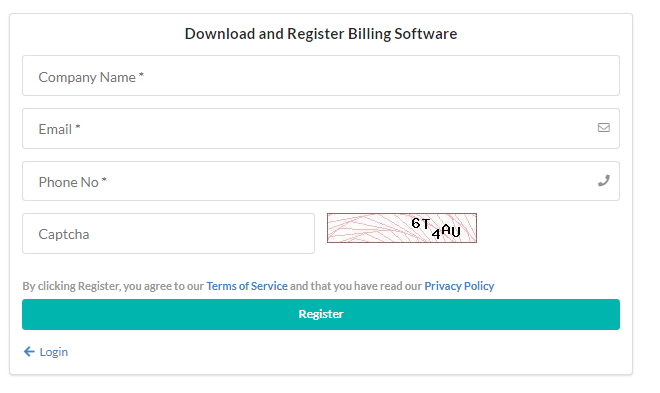
- On clicking the Download Windows Server Version from our website www.outputbooks.com/download-gst-billing-software, you will be directed to the sign-up or register page.
- Provide the required details and register.
- After successful completion of sign up, you will receive a mail with the link for installation.
Installation Steps
After clicking the setup link sent to your mail, save the Output Books server in the local folder.
Note: By default, C drive will be the storage folder.
In general, D drive is preferred for storage.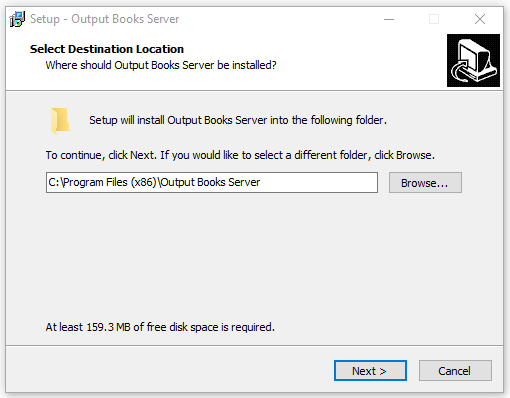 Select the program shortcut to be displayed in start menu folder.
You can click Browse option to change it to a different folder.
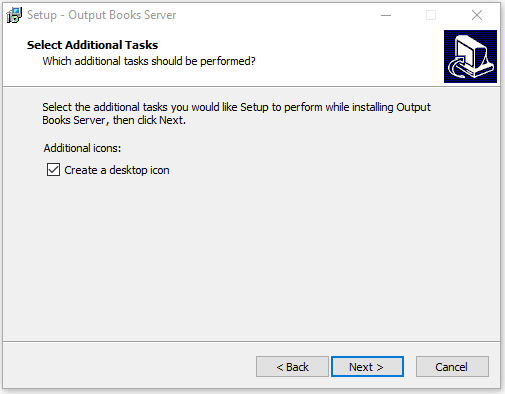
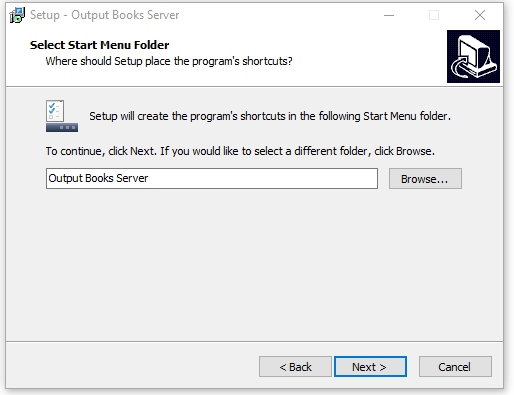 After clicking Next, you can also create a desktop icon for Output Books.
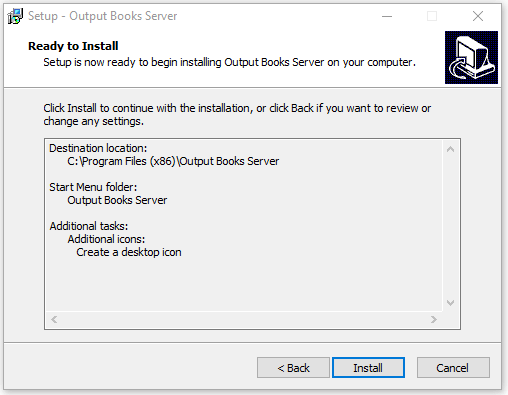
 Then, check all the settings made in the previous steps and click Install.
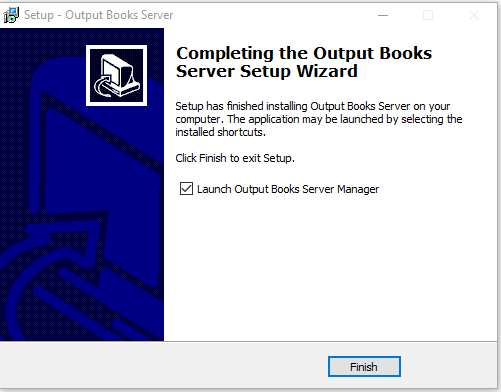
 After the process of installation, click Finish to complete installation.
Start Services
Click the Play icon to start the services. Current version number will be displayed on the right top of the page.
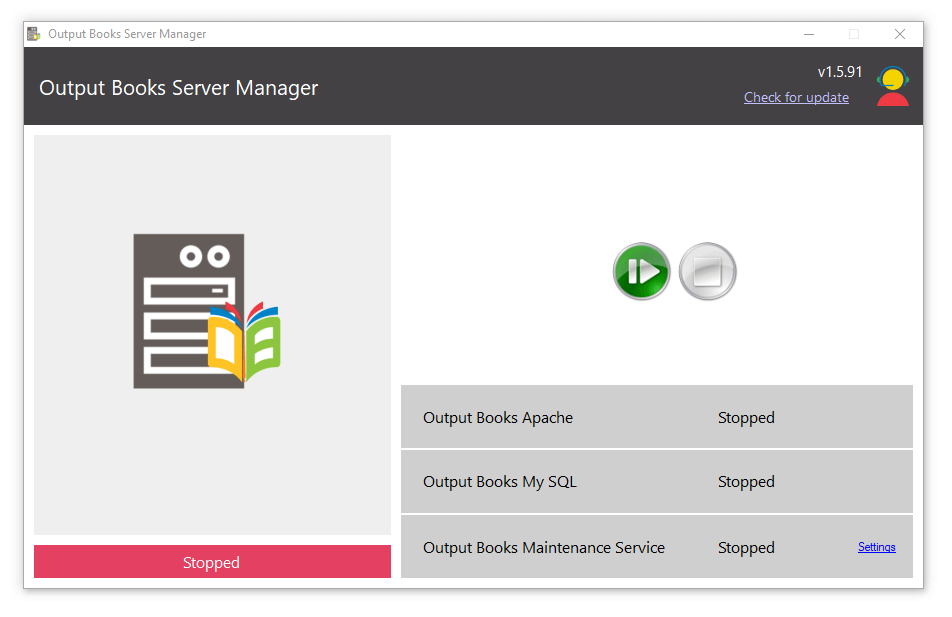
Then click on the local host link in which Output Books is running.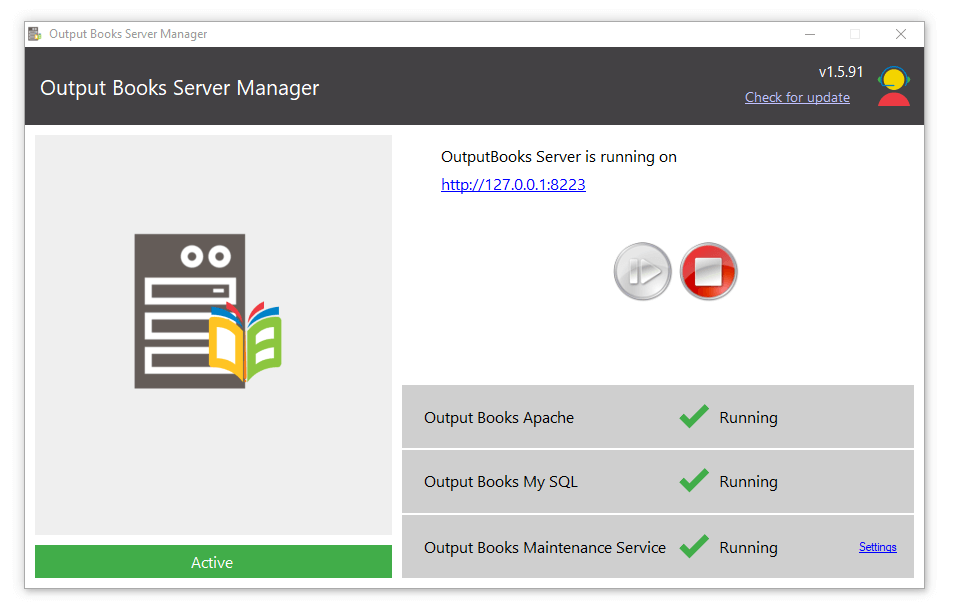
DB backup
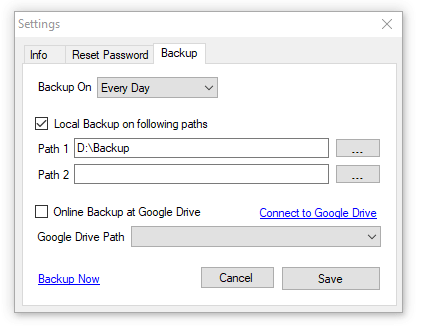
- In Output Books Server Manager, Click Settings at the right bottom.
- Click “Back Up” tab
- Choose the local path/paths in which the backup is to be done.
- You can select maximum two paths for storing the backup.
Reset Password
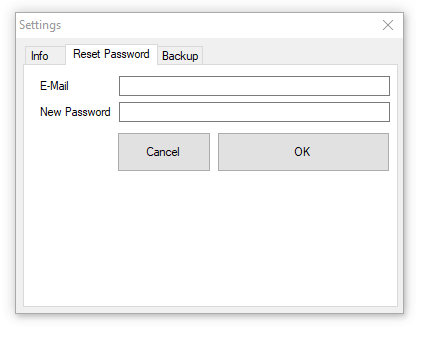
To reset your password, follow these steps within the “Settings” window:
- Navigate to the “Reset Password” tab.
- Provide your registered email address and new password.
Finalizing Installation
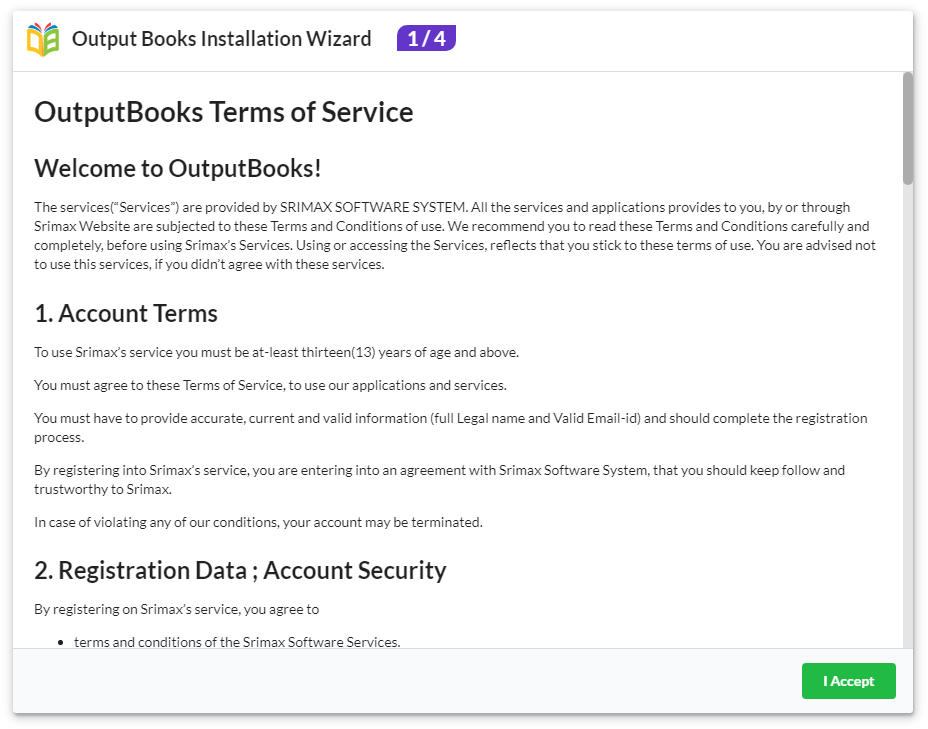
On completion of installation, you will be prompted to Output Books Installation Wizard.
Read and agree to the terms and conditions.
 In the next wizard, provide the license key, email and create a password for your account.
After providing the license key, the company name will appear automatically.
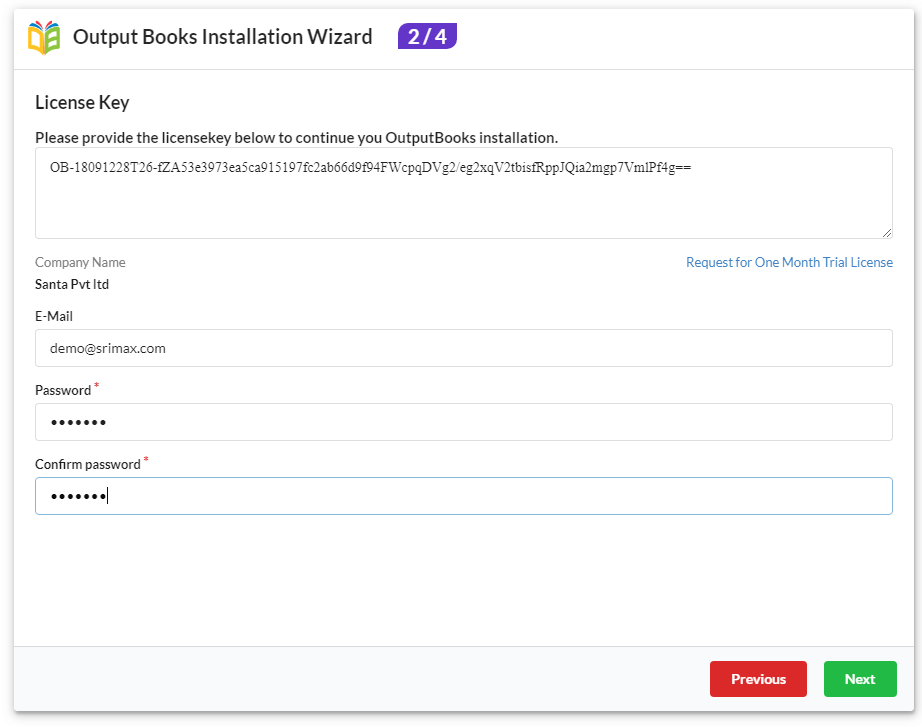 Verify the details provided and if you want to change, click on Previous. If all details are verified, click on Install to start installation.
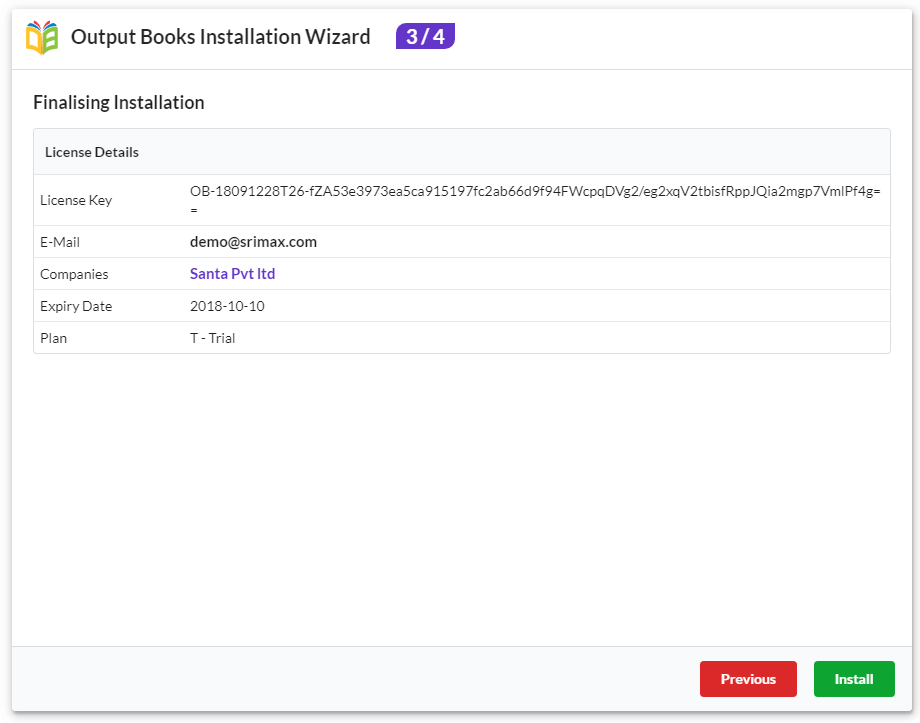 After completion of installation, you will be getting the congratulations screen.
There, provide the entire details of the company in the respective fields and click Finish.
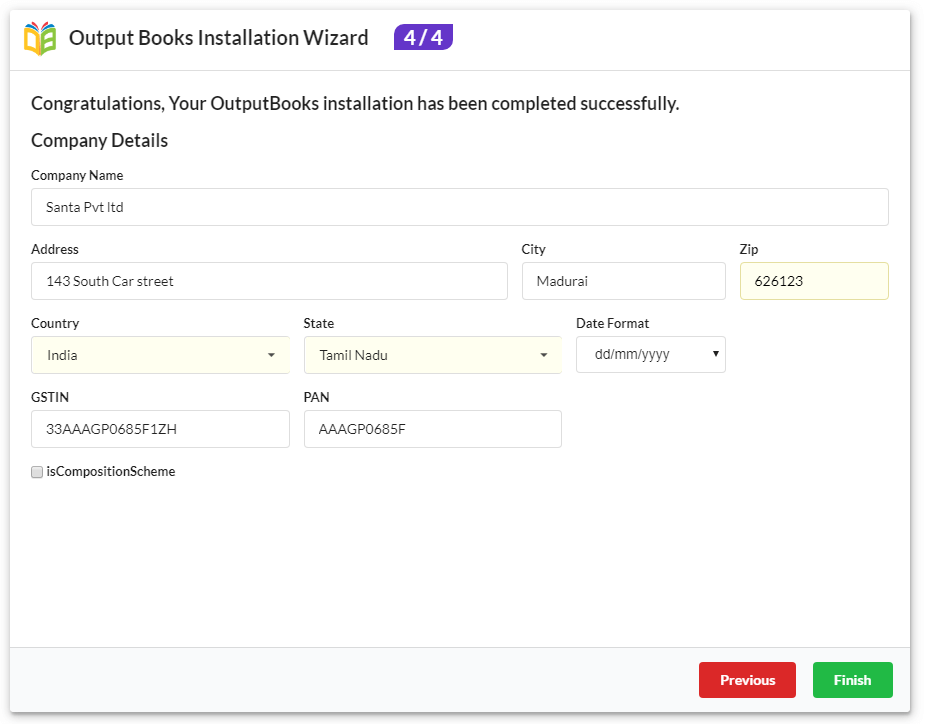 Now, you have successfully completed the installation.
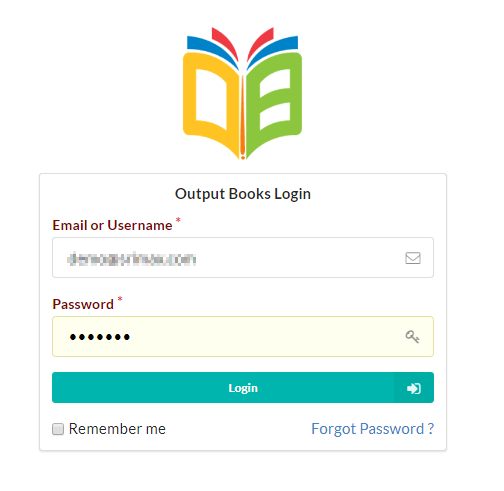
Provide the email and password in the Login page and enjoy using our Smart Accounting software.
