In Output Books, you can create different tags to manage a group of Customers. Grouping your customers into groups according to your business needs has a number of advantages. It can help to
- Assign different pricing.
- Provide discounts or any offers
- Group by areas for Sales representatives
Page Contents
Create tags
- Go to Manage > Customers / Suppliers
- Click New Customers
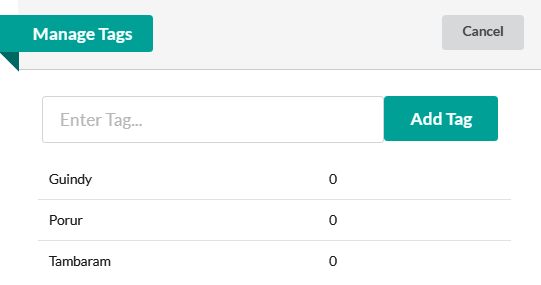
- Click the link Manage Tags in the pop-up.
- Add all the tags related to your business.
Assign Tags to Customers
You can assign single or multiple tags for Customer. While creating customer, you can assign them the corresponding tags.
Tags used in Rate Sheet
Tags allow you to organize your customers, give them discounts or assign them different price list like wholesale/retail.
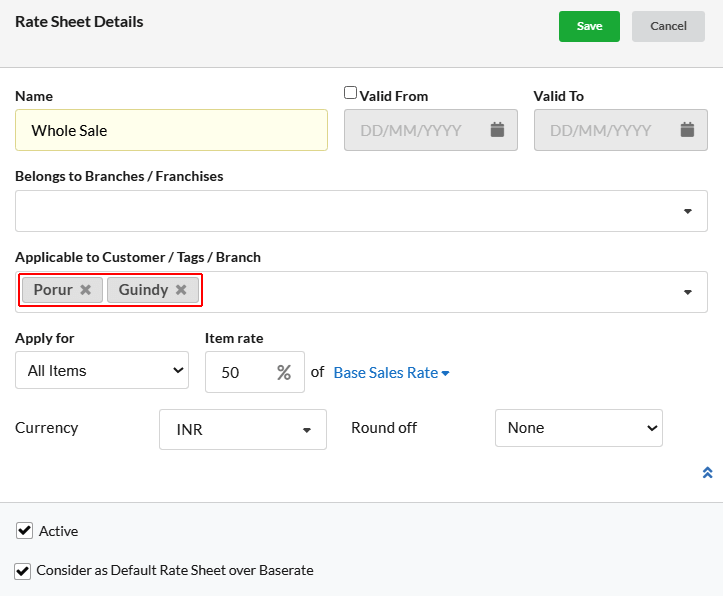
Here, we created wholesale rate sheet for the Guindy and Porur customers. As we group customers by place using tags, we can simply assign that tag rather of assigning each and every customer of Guindy and Porur.
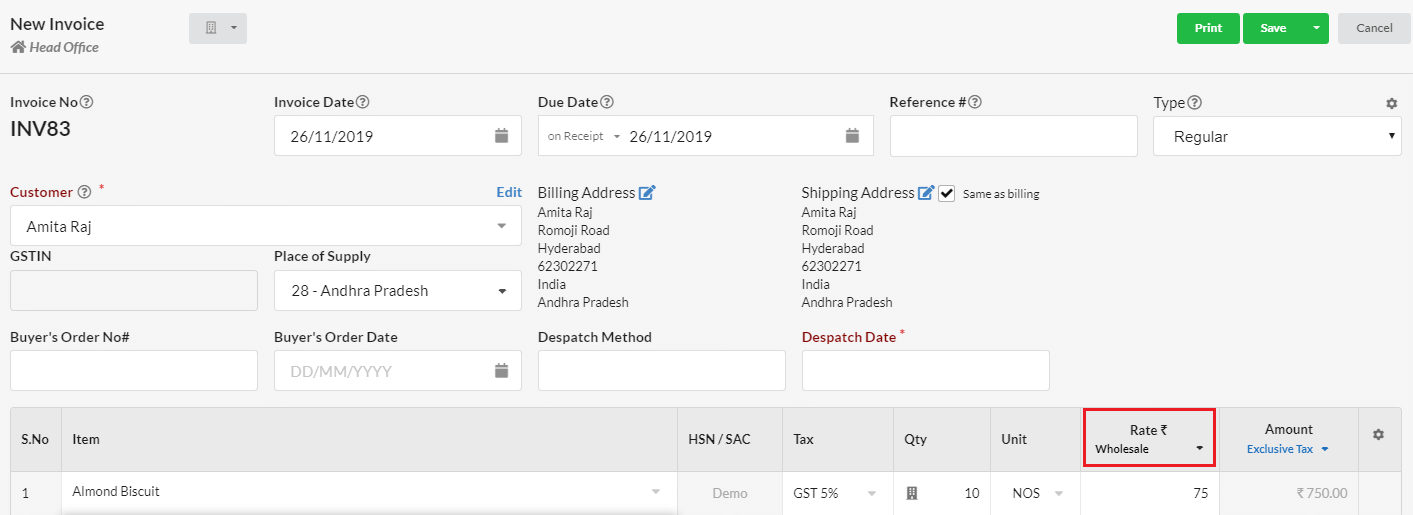
While doing invoice for Guindy/Porur customer, automatically this Wholesale rate sheet get applied.
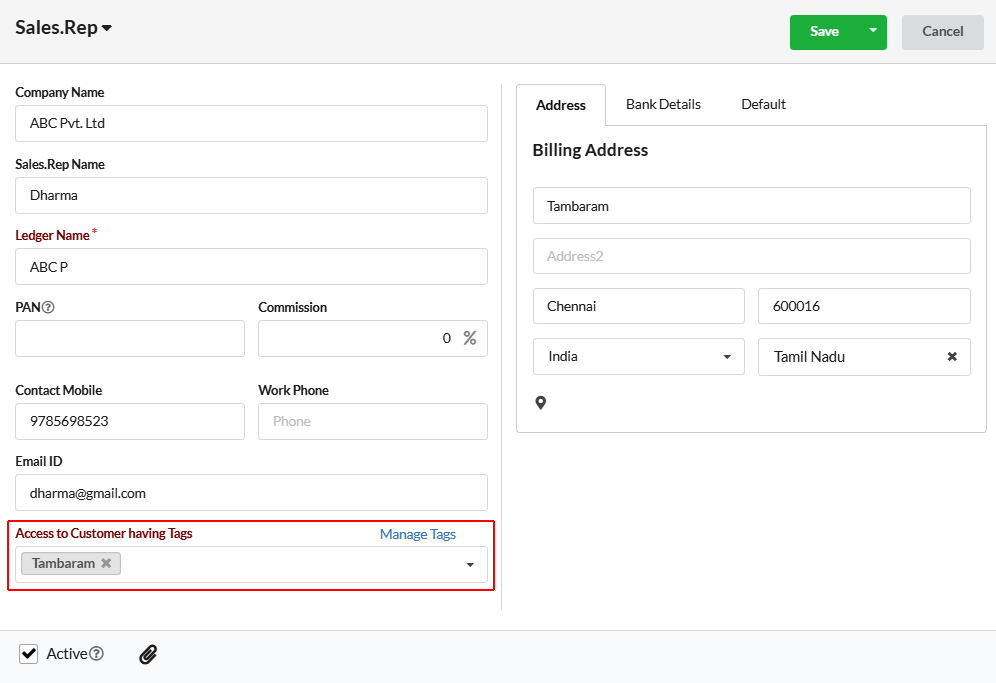
Tags used in Sales Representative module
- Create tags based on the Sales representatives’ market area. (Eg. Guindy, Tambaram)
- Assign tag area for the respective customers.
- Use tag for the corresponding sales representatives.
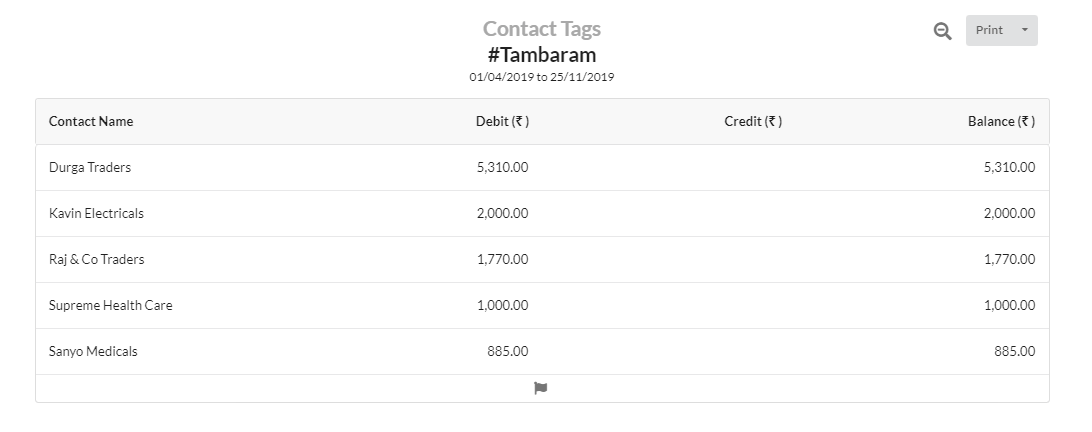
In this example, we assigned Tambaram customers for the Sales rep. He can follow the customers linked to that tag area.
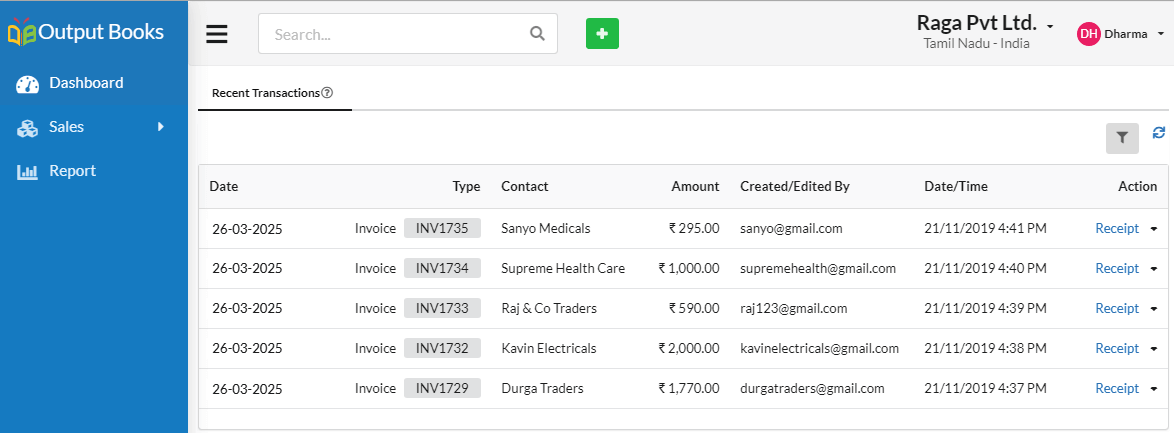
In the Sales representative portal, customers who are assigned to him will be displayed in dashboard and in reports
