In certain scenarios, you may need to assign or allocate items within our system to specific branches or locations. This guide will walk you through the steps to assign items exclusively to designated branches.
Steps for Assigning Items to a Specific Branch
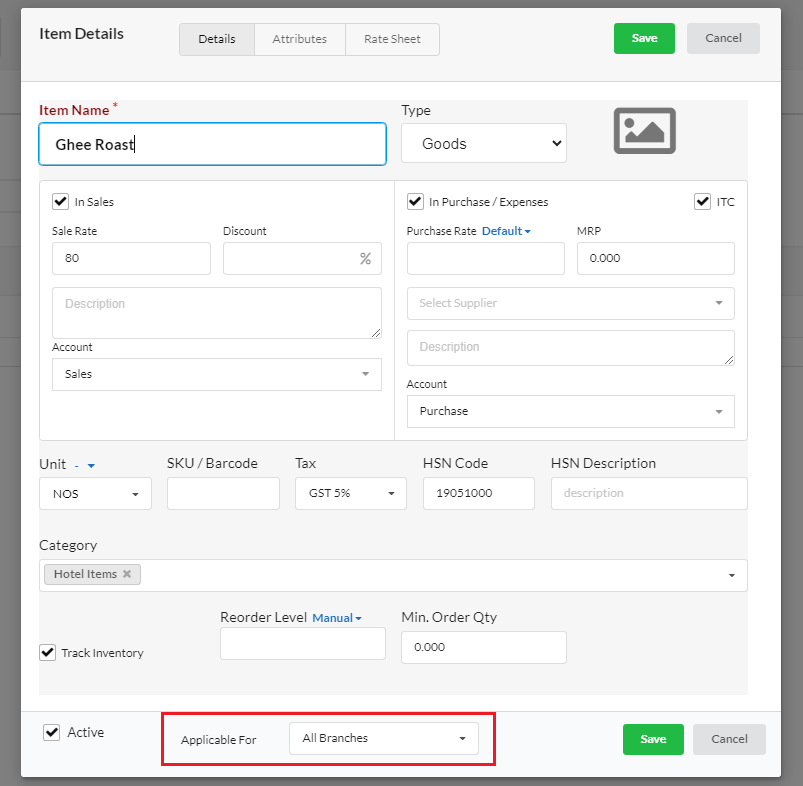
- Go to Manage > Items.
- Identify the items you wish to exclusively assign to a specific branch.
- Select Edit from the Action menu.
- In the Applicable for dropdown at the bottom, choose the specific branch.
- Click Save to confirm.
In the POS screen dedicated to each branch, only the corresponding items will be displayed. This exclusivity in assigning items to specific branches is crucial for upholding a structured workflow within an organization.

